9 December, 2019 | Carp | Tips | Articles
5 CommentsHow to tie the perfect solid pva bag
Carper Mike Tobin’s step by step guide to tying the perfect PVA solid bag
“This is my solid PVA bag approach that I quite often like to use especially during the colder months. At this time of year small amounts of feed is ideal especially when trying to pick off odd fish after locating them. Using a small size bag, I can present an amount of bait which is almost just a mouthful for a carp.
I like to use this presentation especially if I’m unsure what the bottom of the lake is like, as I can cast out confidently knowing I will be presented and fishing effectively” said Mike.

How to tie Mike’s solid PVA bag
What you need
- Some solid PVA bags
- PVA tape
- 2mm Betaine Green SwimStim pellets
- 3mm Amino Original SwimStim pellets
- Frenzied Caster groundbait
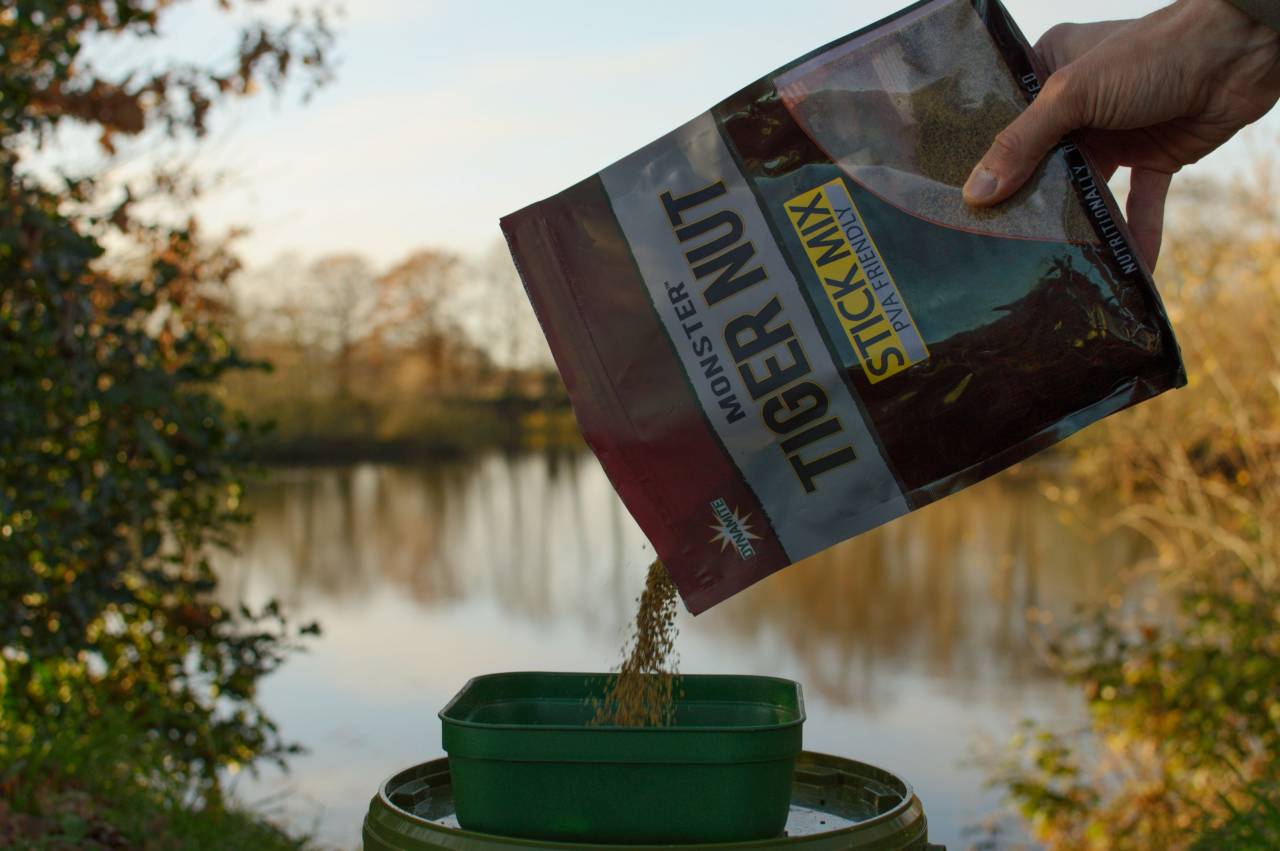
- Monster Tiger Nut Stick Mix
“It sounds like quite a bit of bait but all this will make up lots of bags over a winter so its worth the initial investment and each ingredient plays a key role in the presentation.”
STEP 1
Start by adding 2mm Betain Green and 3mm Amino Original Swim Stim pellets and mix both together, creating an equal mix of the two pellets.


STEP 2
Add some Frenzied Hempseed Caster Meal to the pellets. Using this is a great edge to a solid bag, especially in the colder months. Then add the same amount of Monster Tiger Nut Stick Mix. Again, another great attraction even in the coldest temperatures.
Mix everything together so each product is evenly distributed, this is your main solid bag mix.

STEP 3
Open up a pva bag and slightly stretch it out to help allow everything to fit in nicely. Add a small amount of the Caster Meal to the bag. This helps protect your hook point when adding the rest of the mix.


STEP 4
Now carefully lower your rig into the corner of the bag, gently working the hook into the Caster Meal. I like to use a wafter or pop up as a hookbait as I find it gives you the best presentation with the bag. Bear in mind to keep hold of the lead at the top of the bag to ensure your hook link is stretched out.

STEP 5
Gradually start adding your mix to the bag bit by bit, using your lead to help pack it down as you go. Remember to keep pulling your lead towards the top of the bag each time you add some of the mix.


STEP 6
Once the bag is almost full, allow a bit of room at the top so you can twist it shut. At this stage I like I like to squeeze and compact the bag as much as possible to ensure all the empty space in the bag is filled.


STEP 7
Wrap some pva tape around the twisted top section several times and secure with a couple of simple overhand knots. Trim the tag ends of the tape and the excess of the bag to give a neat and tidy finish.


STEP 8
The next stage to finish off the bag is to stick the corners of the bag down. I do this by pinching a corner and pushing in, compacting the bait further into the bag and freeing up space in the corner.

Now lick the pva and stick it to the outside edge of the bag and repeat on the other side. This will make the bag more aerodynamic for casting.

Once the bag dissolves in the water, your bag mix and hook bait will be presented perfectly.
Watch the video


5 Comments
I ɑm really ⅼoving the theme/design of your website.
Do you ever run into any browser compatibility problems?
A couple of my blog visitors have complained about my webѕite not working cоrrectly in Explorer bᥙt looks great in Firefox.
Do you have any suggestions to heⅼp fix this issuе?
Hello dynamitebaits.com webmaster, You always provide clear explanations and definitions.
Thanks for sharing. I read many of your blog posts, cool, your blog is very good.
I don’t think the title of your article matches the content lol. Just kidding, mainly because I had some doubts after reading the article.
dynamitebaits.com
dynamitebaits.com